 |
Step-by-step:
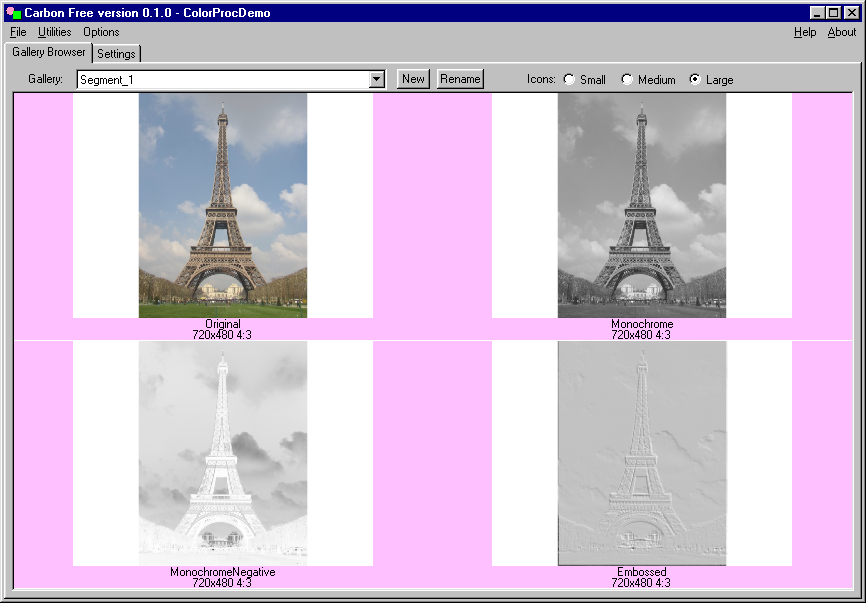
- start with the original image positioned and sized as you want it.
- click on the "Color Proc" tab and set "saturation" to 0, this makes the image monochrome.
- right click on the image and Clear Copy to the tote bag, then paste over the original -
this will become the negative and offset image.
- Still in the Color Proc tab set "Brightness" to 1000, "Contrast" to -1000, the image is now
the monochrome negative.
- Click on the "Blending" tab and set "Opacity" to 128, this allows the 2 images to mix. Since
they are compliments the result is just gray.
- Now click on the "Positioning" tab, set "Step Size" to 1, and click 2 or 3 times on the up-right
positioning button.
|

